Celebrating a baby’s naming ceremony is a once-in-a-lifetime event, and SaveDate online invitations make it even more special. With features like Baby Name Reveal, countdown timers, guest wishes, gallery uploads, and customizable themes, you can create a memorable and interactive digital invitation that your family and friends will love.
This step-by-step guide will show you how to design your baby’s naming ceremony invitation on SaveDate, from start to finish, for free.
Step 1 Sign Up or Log In
Visit SaveDate and sign up or log in with your Google account. Using your Google account makes login fast and secure.
Screenshot Suggestion: Login page showing Google sign-in option.
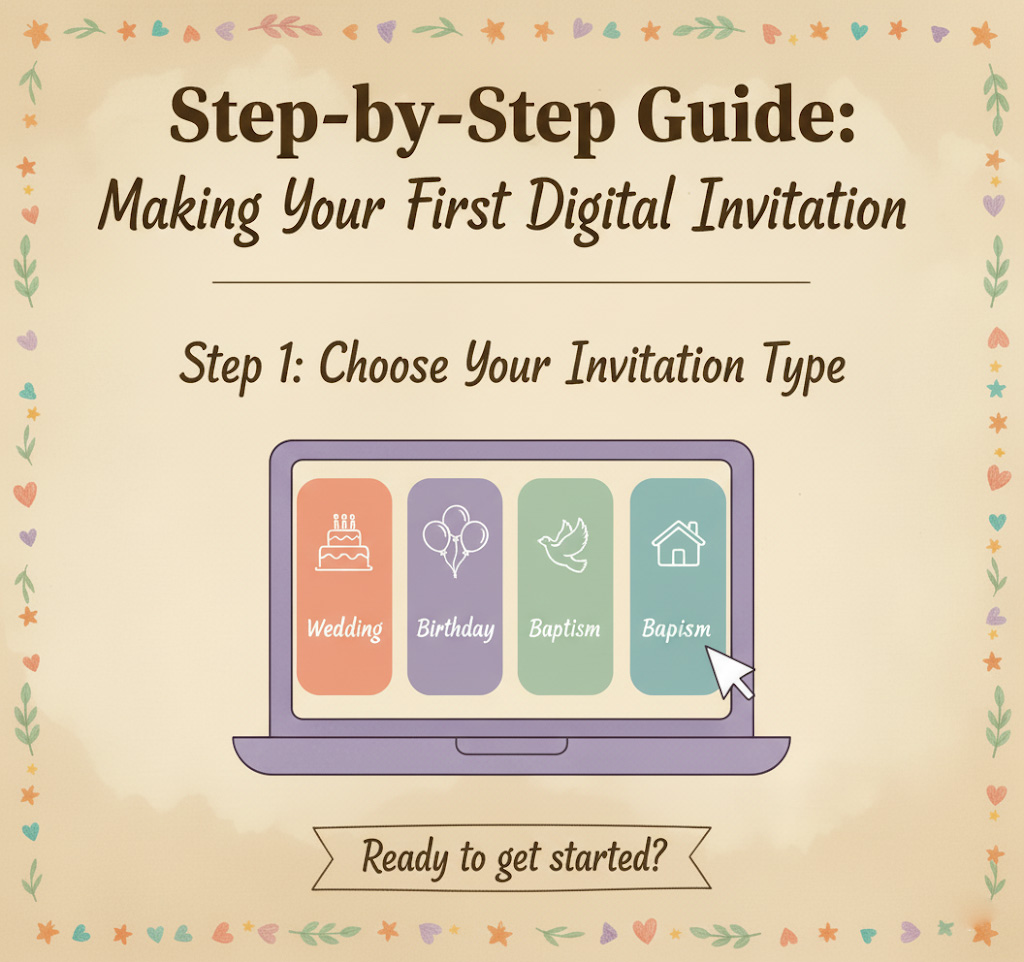
Step 2 Select Your Event Type
Once logged in, choose Naming Ceremony (or Baptism if applicable). SaveDate provides pre-designed templates tailored for baby celebrations to make setup easier.
Screenshot Suggestion: Event type selection screen with Naming Ceremony highlighted.
Step 3 Enter Baby and Parent Details
Fill in essential details, including:
- Baby’s full name
- Parent(s) names
- Date of birth
- Any additional family information you wish to display
This ensures your invitation is personalized and complete.
Screenshot Suggestion: Form showing baby and parent detail entry.
Step 4 Schedule Baby Name Reveal
Tap the Schedule Name button and check Schedule Baby Name Reveal. Enter the date and time when the baby’s name should be revealed to guests. SaveDate will automatically show the name at the scheduled time, building excitement with a live countdown timer.
Screenshot Suggestion: Admin panel showing Schedule Baby Name Reveal setup.
Step 5 Add Event Details
Provide the when and where for your ceremony:
- Event date and time
- Location
- Venue address
You can integrate Google Maps so guests can navigate easily.
Screenshot Suggestion: Location integration with Google Maps.
Step 6 Upload Banner Images
Make your invitation visually appealing by adding banner images. You can choose themed images or upload your own.
Screenshot Suggestion: Banner image upload interface.
Step 7 Choose and Customize Theme
Select a theme you like and customize it:
- Colors
- Fonts
- Layout
- Decorations
Themes allow you to match your invitation with your event’s style, making it truly unique.
Screenshot Suggestion: Theme customization panel showing color, font, and layout options.
Step 8 Upload Gallery Images
Add photos of your baby, family, or memorable moments to create a gallery within your invitation. This feature makes the digital invitation interactive and heartwarming.
Screenshot Suggestion: Gallery upload interface.
Step 9 Add YouTube Videos (Optional)
Enhance your invitation by embedding YouTube videos to share memories, messages, or special moments.
Screenshot Suggestion: Video upload section.
Step 10 Preview and Generate Invitation Link
After completing customization, preview your invitation to ensure everything looks perfect. SaveDate will generate a unique invitation link ready to share.
Screenshot Suggestion: Final invitation preview showing countdown and gallery.
Step 11 Share With Guests
Tap the Share button to send your invitation link via:
- Social media platforms
Guests can view the countdown, see the name reveal, upload wishes, and enjoy gallery photos.
Screenshot Suggestion: Share interface with WhatsApp, Email, and Social Media options.
Make your baby’s Naming Ceremony unforgettable. Design a customizable, interactive invitation for free today with SaveDate and schedule the name reveal to create excitement among your guests.
Create Your Free Naming Ceremony Invitation on SaveDate
Why Choose SaveDate for Naming Ceremony Invitations
- Interactive: Countdown timer and Baby Name Reveal make your invitation engaging.
- Customizable: Themes, colors, fonts, banners, gallery, and videos.
- Guest-Friendly: Guests can send wishes and greetings directly on the invitation.
- Eco-Friendly & Free: Digital invitations save paper and are completely free.
- Convenient: Add location, map integration, and share instantly via WhatsApp.